
How to Install a Neighborhood Book Exchange: Simple Rules and Tips
This simple guide explains the basic rules and practical checks to consider before installing a neighborhood book exchange. Learn how to choose a safe location, avoid common placement mistakes, check local requirements, and prepare your installation with confidence.
INSTALLATION GUIDE
The HAVLYN Team
4/6/20264 min read
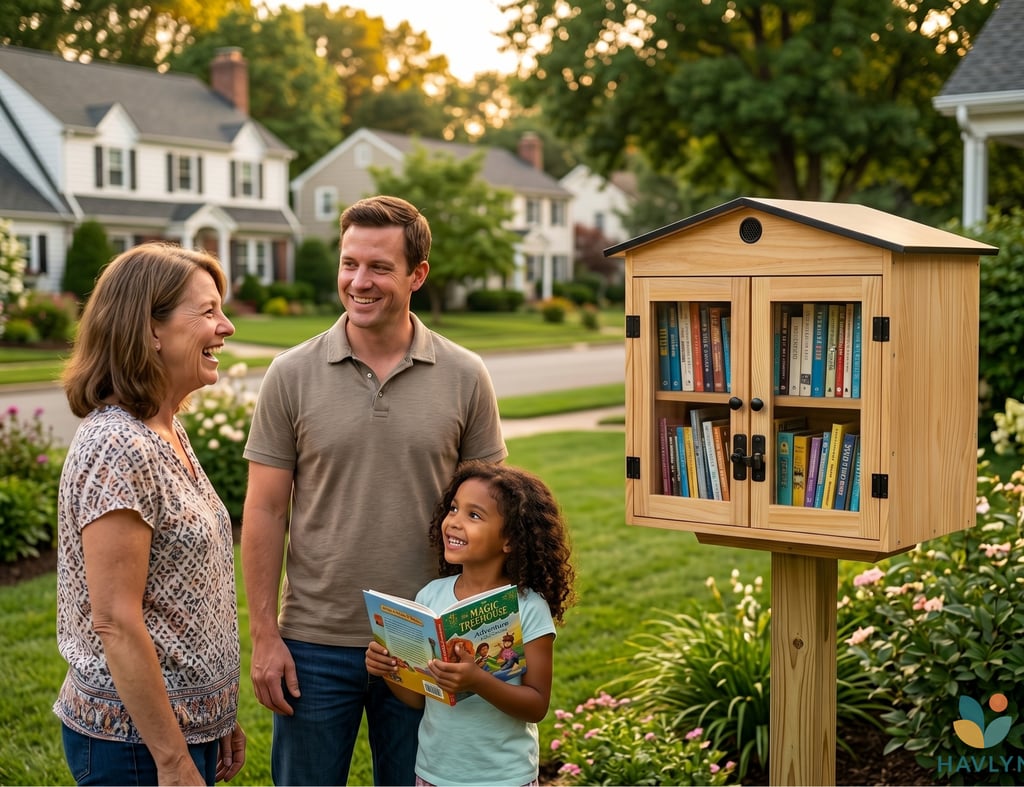
How to Install a Neighborhood Book Exchange: Simple Rules and Tips
A Simple Guide to Starting Your Community Book Box
Installing a neighborhood book exchange is a simple and meaningful way to share books, encourage reading, and bring people together. The good news is that, in most cases, the process is not complicated. With the right location, a few basic checks, and a little planning, you can create a welcoming book-sharing spot for your community.
This guide will help you choose a safe location, understand the main rules to consider, and avoid the most common mistakes before installation.
1. Choose a Safe and Welcoming Location
The best location is easy to see, easy to reach, and safe for visitors.
A front yard, garden edge, driveway entrance, or another visible area on your property can work very well. Try to choose a spot where people naturally pass by, such as near a sidewalk or walking path, without forcing anyone to step into the street or onto unsafe ground.
Make sure the book box is easy to access. The doors should be at a comfortable height for most people, including children. If possible, leave enough space in front of the box so visitors can stand safely while browsing.
Avoid placing the box too close to the road, in a drainage area, or where it could block a sidewalk, driveway, mailbox, fire hydrant, or public pathway.
2. Keep It on Private Property When Possible
The simplest option is usually to install your book exchange on your own private property. This helps avoid many of the permit or approval questions that can come with public land.
Be careful with the area between the sidewalk and the street. In many neighborhoods, this strip may look like part of your yard, but it can be considered a public right-of-way, easement, or city-controlled area. Rules vary by city, so if you are unsure, it is better to check before installing anything permanent.
If you want to place your book box in a park, near a school, outside a business, or on public property, ask the property owner or local authority first. A quick approval in advance is much easier than having to move it later.
3. Check Local Rules Without Overcomplicating It
Most neighborhood book exchanges are simple residential projects, but local rules can vary. Before installation, it is worth doing a quick check for:
City or town rules about structures near sidewalks or roads
Height or size restrictions
Homeowners Association rules, if you live in an HOA community
Historic district or neighborhood design guidelines, if applicable
This does not need to be intimidating. In many cases, the question is simply whether the box is safely placed, does not block public access, and fits the neighborhood setting.
If you live in an HOA community, present the project in a positive and simple way: a small book-sharing box, placed neatly on your property, maintained by you, and designed to encourage reading and community connection.
4. Call Before You Dig
If your installation requires digging a hole for a post, this step is important: call 811 before you dig.
In the United States, 811 is the national “Call Before You Dig” service. It connects you with your local utility marking service so underground utility lines can be marked before you start digging. This helps prevent damage to gas, electric, water, cable, or other underground lines. The service is generally free for homeowners, and it is recommended before any digging project, even a small one.
Plan ahead, because utility marking may take a few business days depending on your state or local service area. Also remember that some private lines, such as irrigation, landscape lighting, or private underground wiring, may not be marked by 811 and may require extra caution.
5. Think About Weather and Everyday Use
A good location should make the book exchange easy to use throughout the year.
If possible, choose a spot with some natural protection from heavy rain, strong wind, or direct exposure. Make sure water does not collect around the base, and avoid areas where sprinklers hit directly.
In colder climates, think about snow, ice, and snowplows. A location that works well in summer may be harder to reach in winter if it is too close to the road or a snowbank area.
The goal is simple: visitors should be able to reach the box comfortably, and the books should stay as protected as possible.
6. Ask Around for Local Advice
One of the easiest ways to understand what works in your area is to look at other neighborhood book exchanges nearby.
If you see one in your town, you can ask the owner or caretaker how they chose the location, whether they needed approval, and what they would do differently. Local experience is often more useful than general advice.
You can also ask your city office, HOA, school, church, or community center if you plan to install the box somewhere other than your own property.
Final Thoughts
Starting a neighborhood book exchange does not have to be complicated. Choose a safe and visible spot, keep it on private property when possible, check any local rules that apply, and call 811 before digging.
With a little preparation, your community book box can become a warm and welcoming place where neighbors share books, stories, and kindness—one visit at a time.
This article is for general guidance only. Local rules may vary. When in doubt, check with your city, HOA, or property owner before installation.